If that is running, it is too high. Max is 62 engine off. It sounds like the fuel pressure regulator is bad. Do me a favor. Connect the pressure gauge and start the engine. Note the fuel pressure. Then, remove the fuel pressure vacuum hose. Pressure should increase. If it doesn't, replace the regulator. Also, confirm there is no fuel getting into the vacuum hose.
Here are the directions for replacing the regulator. The attached pictures correlate with the directions.
___________________________
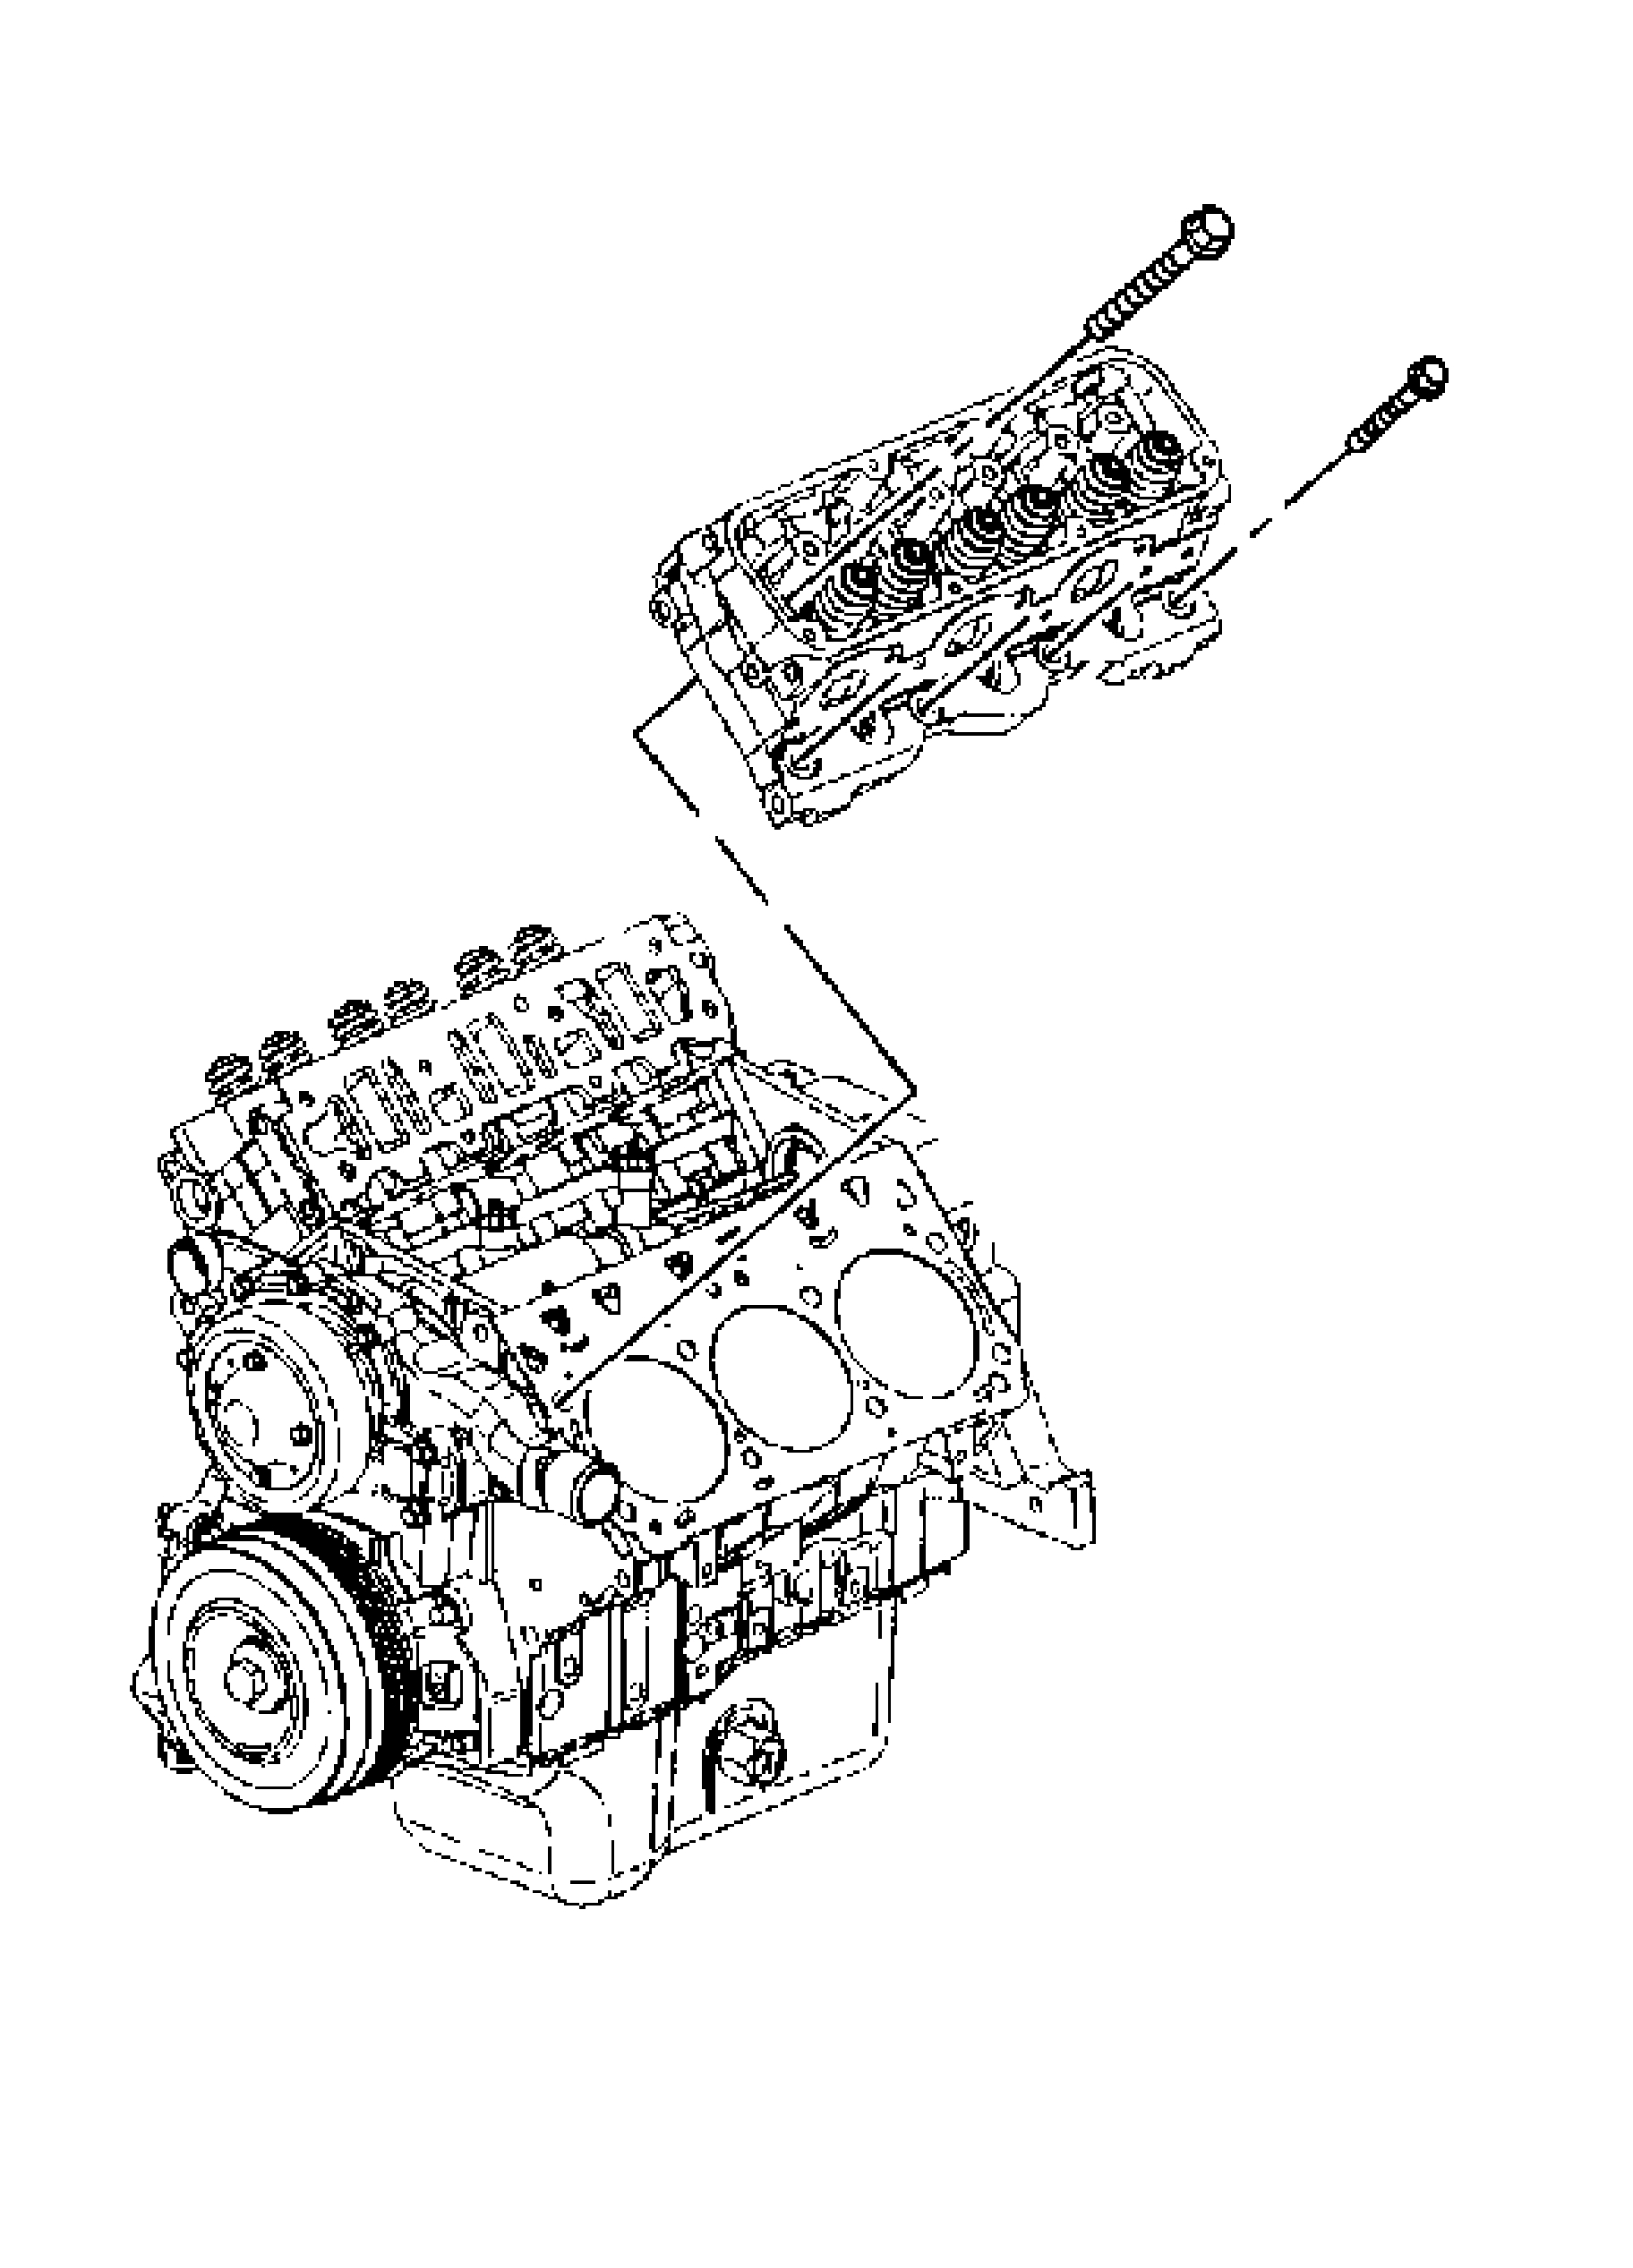
2005 Buick Allure (CANADA) V6-3.8L
Procedures
Vehicle Powertrain Management Fuel Delivery and Air Induction Fuel Pressure Regulator Service and Repair Procedures
PROCEDURES
FUEL PRESSURE REGULATOR REPLACEMENT
REMOVAL PROCEDURE
IMPORTANT: Always maintain cleanliness when servicing fuel system components.
pic 1
1. Relieve the fuel pressure. Refer to Fuel Pressure Relief Procedure.
2. Clean any dirt from the fuel pressure regulator retaining ring.
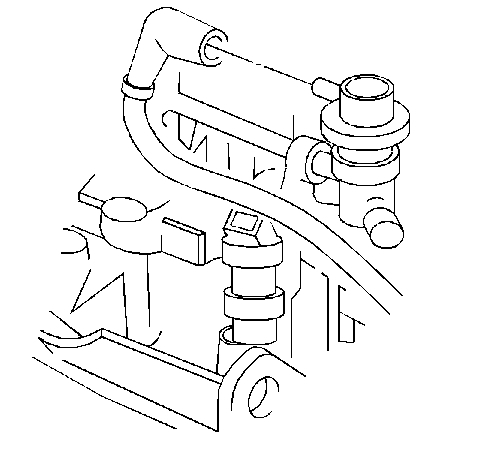
3. Remove the vacuum line from the pressure regulator.
pic 2
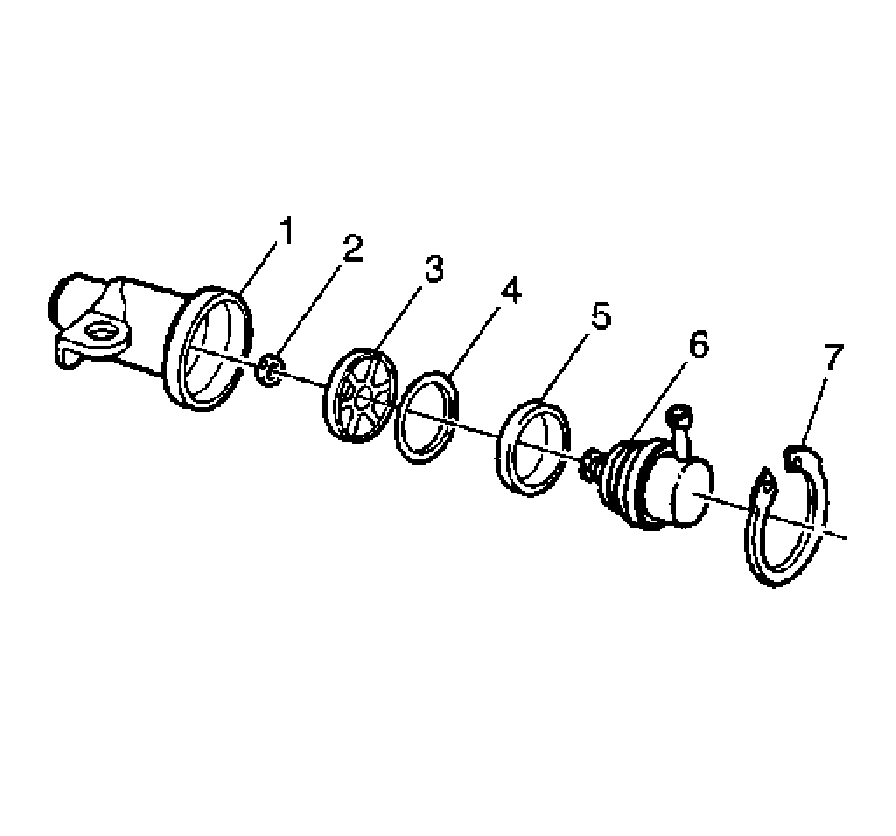
4. Remove the snap ring (7).
5. Using a shop towel to catch any spilled fuel, lift and twist the fuel pressure regulator in order to remove the fuel pressure regulator (6) from the fuel pressure regulator housing (1).
6. Remove the regulator O-ring small (2).
7. Remove the regulator O-ring large (4).
8. Remove the regulator O-ring back up (5).
9. Cover the fuel pressure regulator housing (1) to prevent contamination from entering the fuel system.
INSTALLATION PROCEDURE
NOTE:
- Do not use compressed air in order to test or clean a fuel pressure regulator as damage to the fuel pressure regulator may result.
- Clean the fuel pressure regulator filter screen with gasoline if necessary.
- Do not immerse the fuel pressure regulator in a solvent bath in order to prevent damage to the fuel pressure regulator.
pic 3
1. Install the new O-rings on the fuel pressure regulator (6), if a new fuel pressure regulator is not being installed. Lubricate the O-rings lightly with clean engine oil.
2. Install the regulator back up O-ring (5).
3. Install the regulator O-ring large (4).
4. Install the regulator O-ring small (2).
5. Install the fuel pressure regulator (6) in the fuel pressure regulator housing (1).
6. Install the snap ring (7).
pic 4
7. Connect the vacuum line to the fuel pressure regulator.
8. Tighten the fuel fill cap.
9. Connect the negative battery cable.
10. Inspect for leaks.
1. Turn ON the ignition for 2 seconds.
2. Turn OFF the ignition for 10 seconds.
3. Turn ON the ignition.
4. Inspect for fuel leaks.
11. Install the fuel injector sight shield.
___________________________
Let me know if that helps.
Joe
Images (Click to enlarge)


Feb 11, 2020 at 7:50 PM