Your 1979 Jeep CJ, in my opinion, is the best year that AMC made, pretty much everything was perfected and the computer stuff had not been incorporated in yet.
Your coil could be dead, but that is the last thing I would guess.
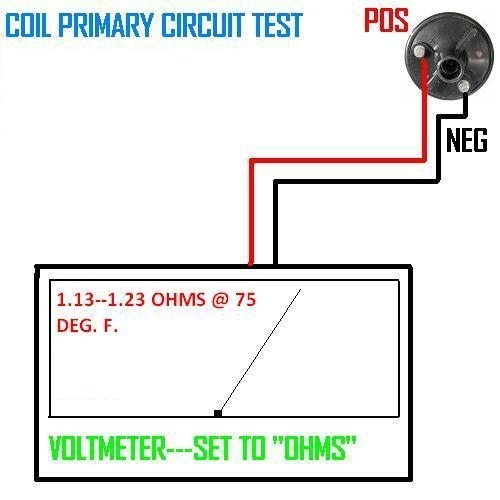
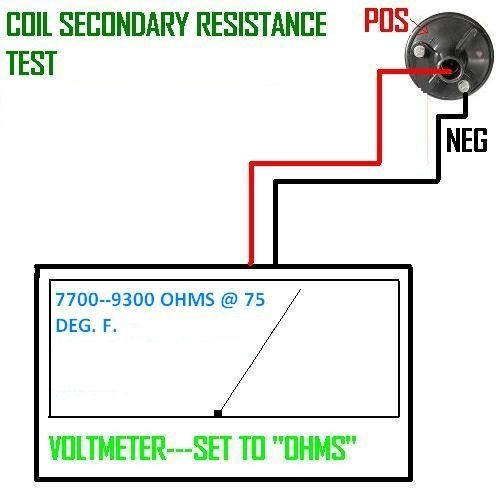
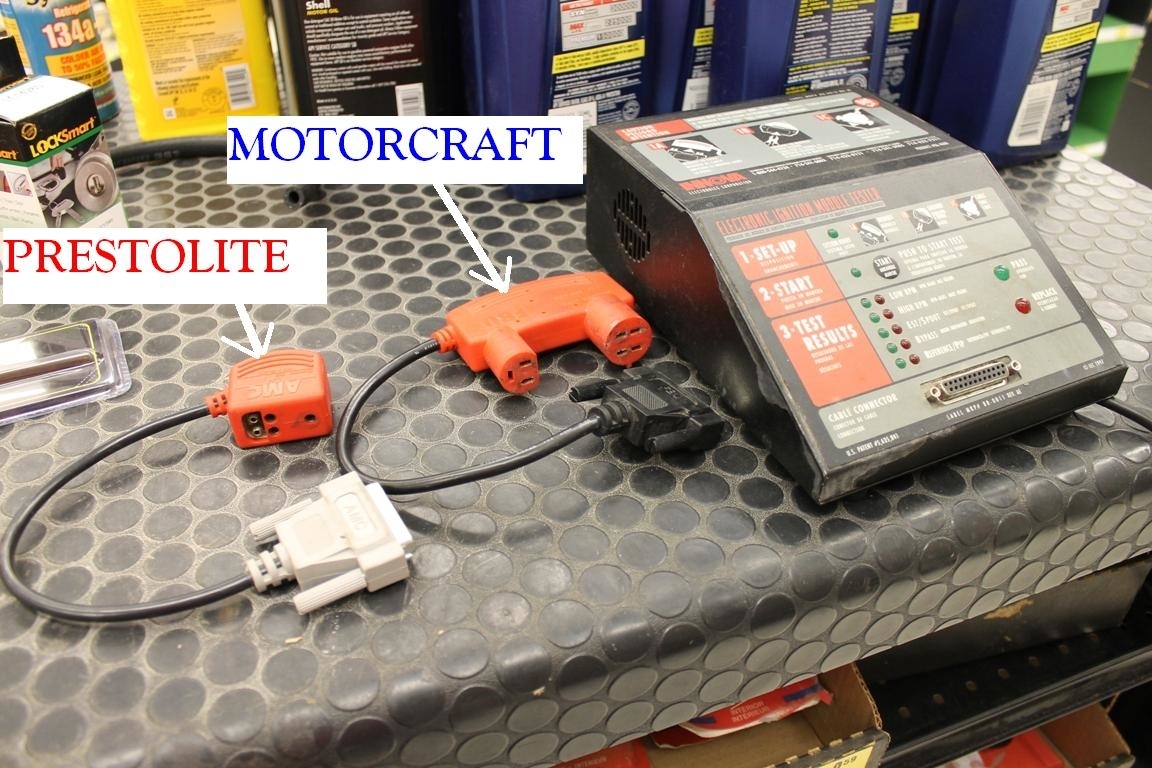
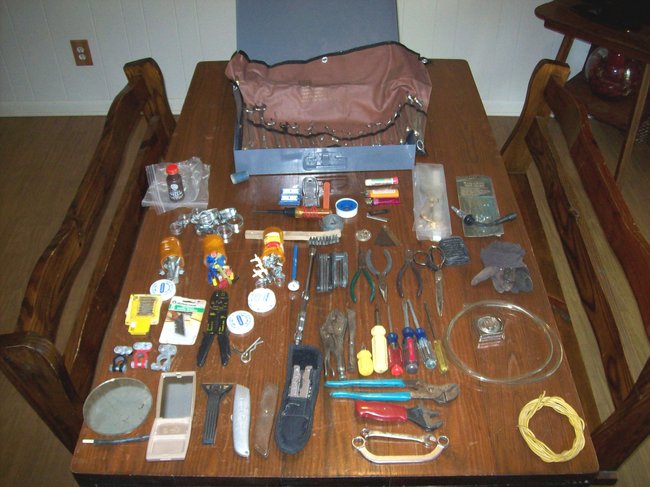
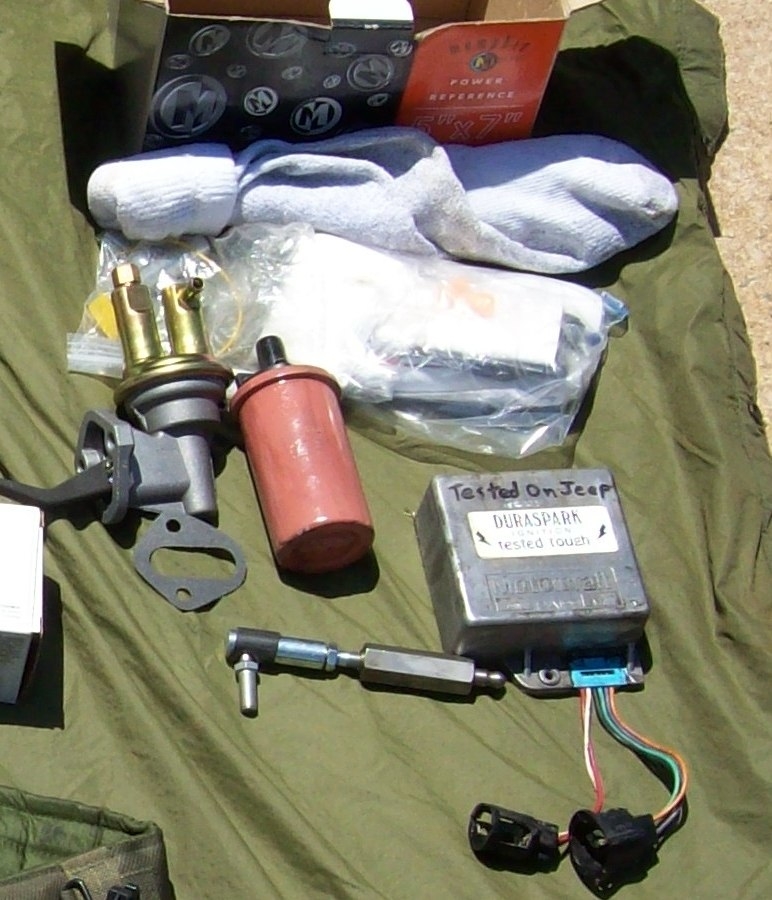
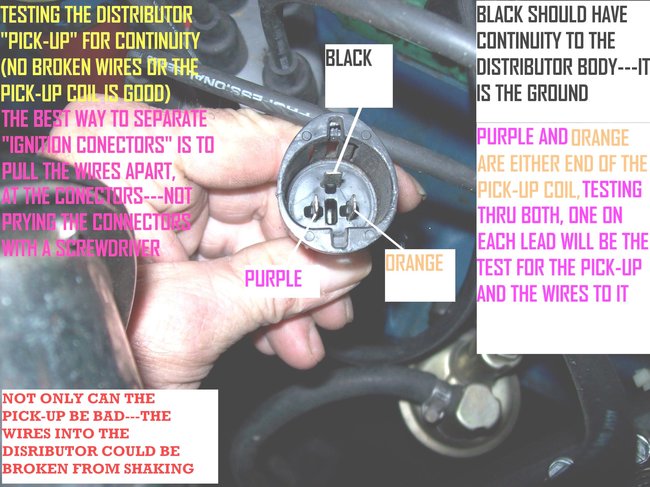
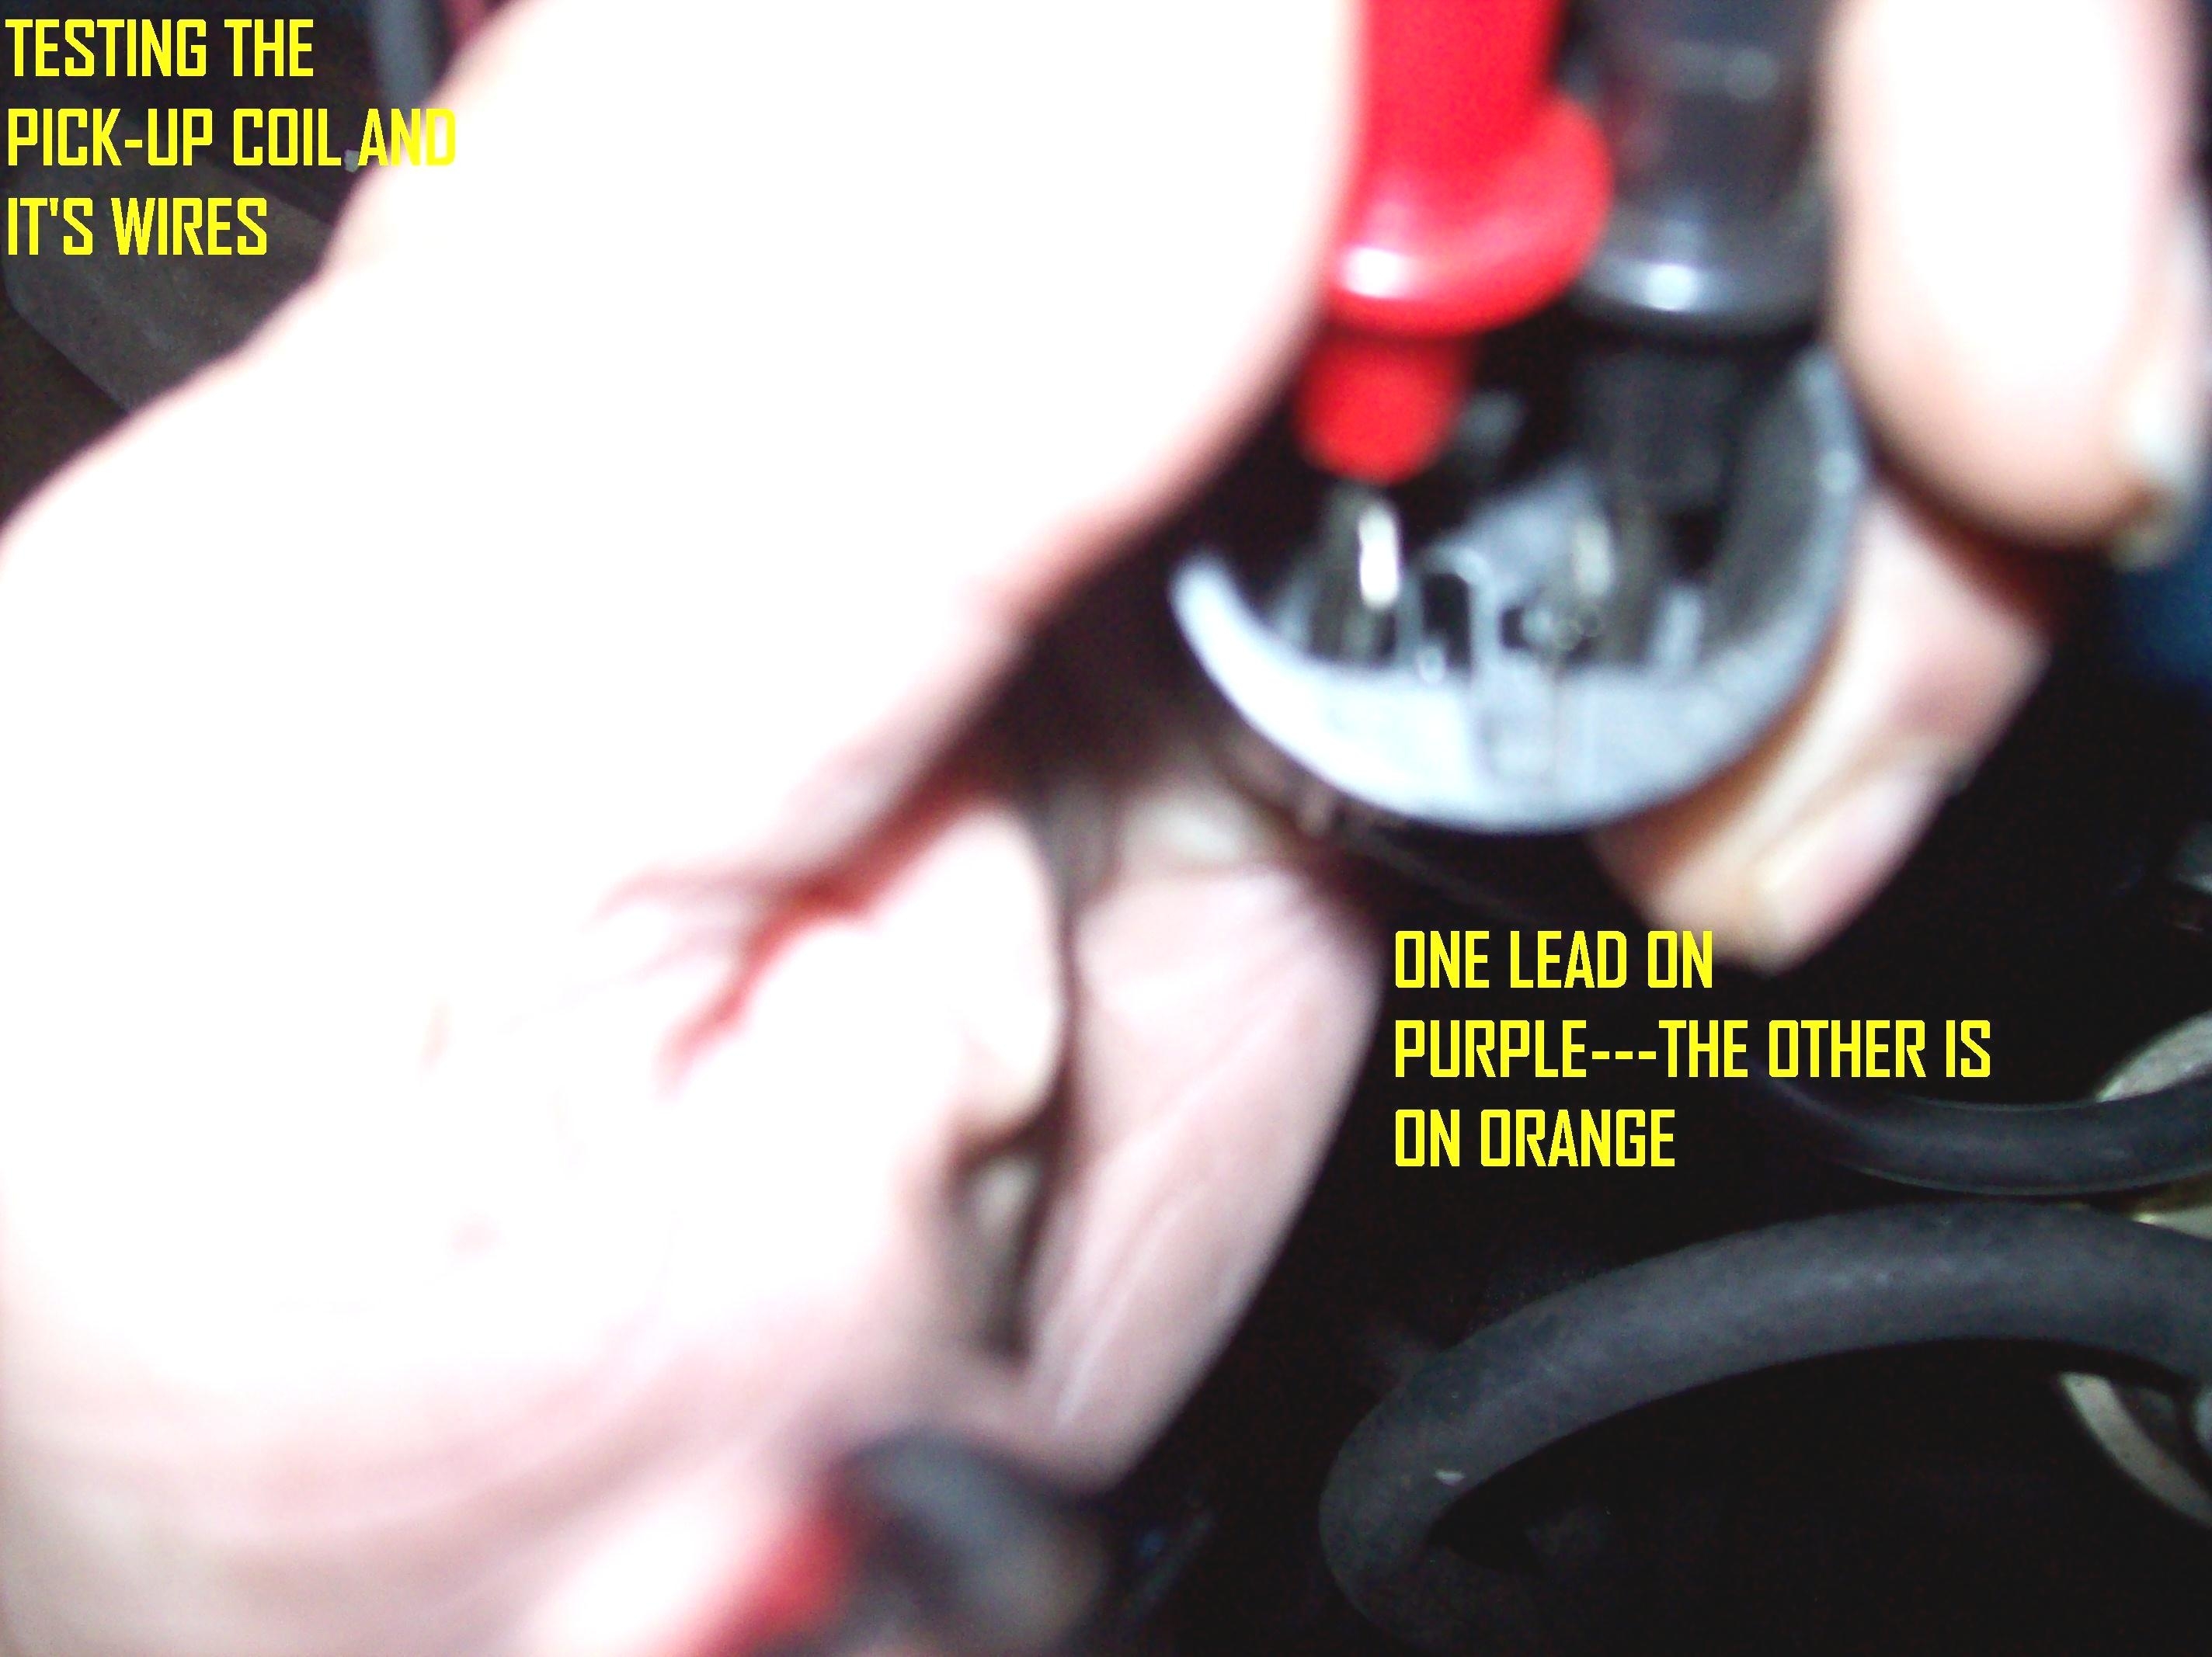
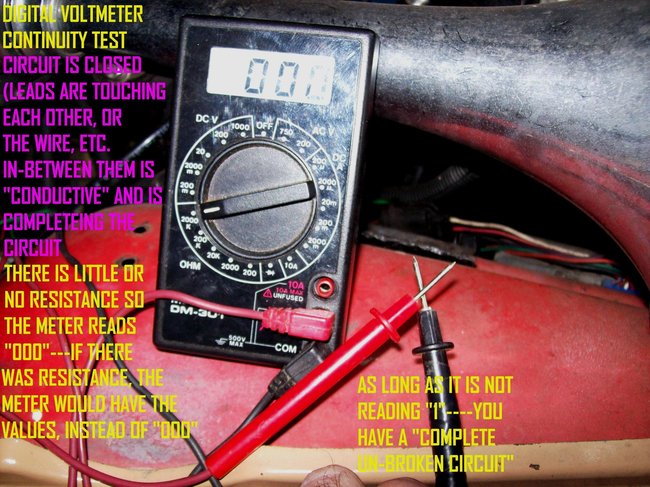
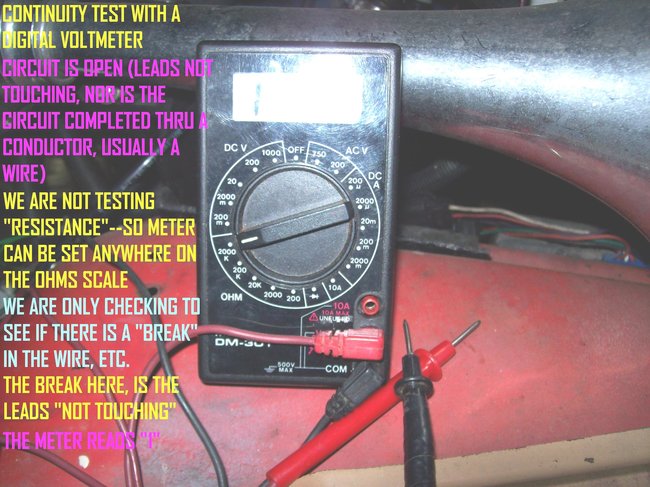
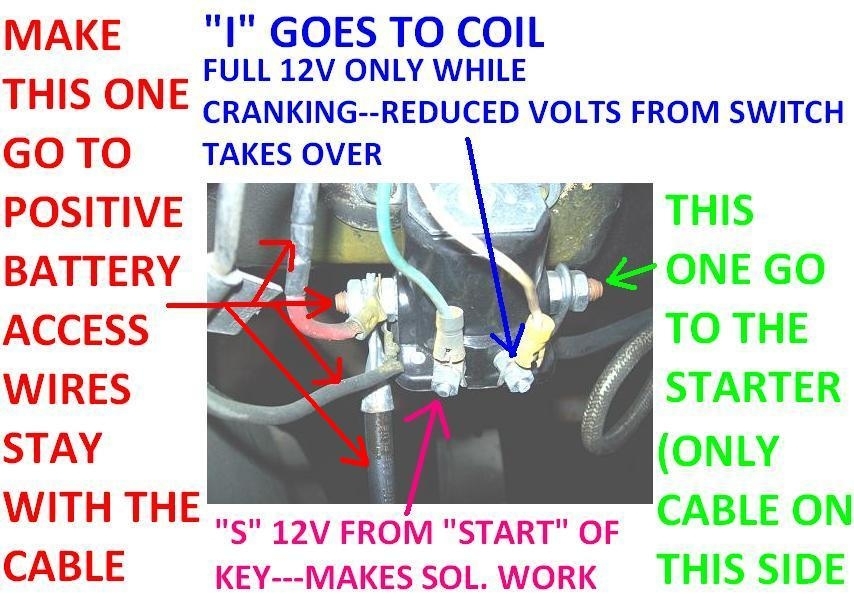
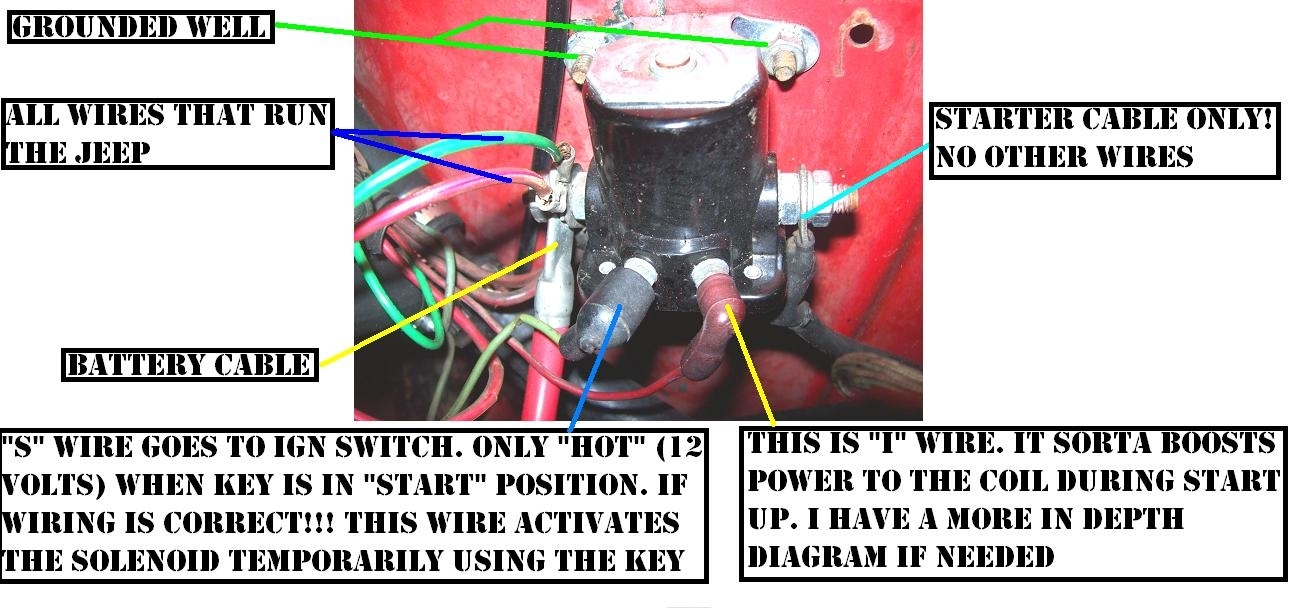
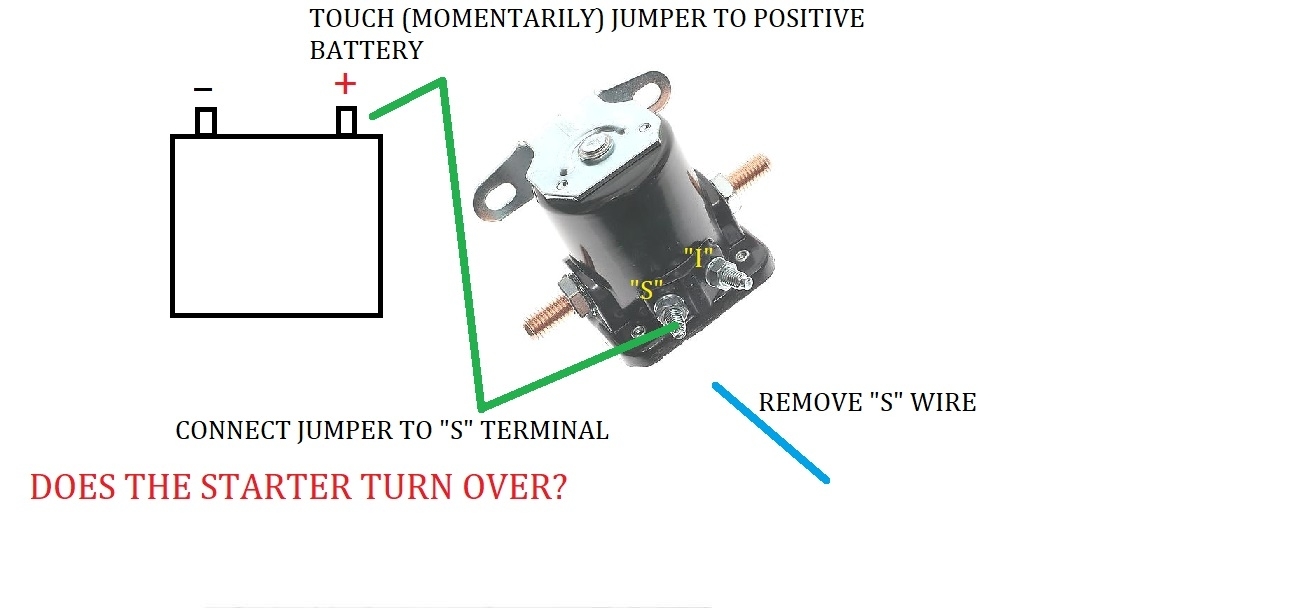
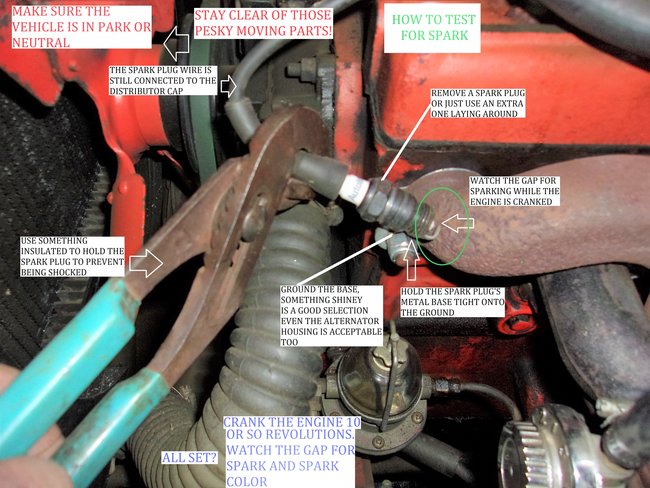
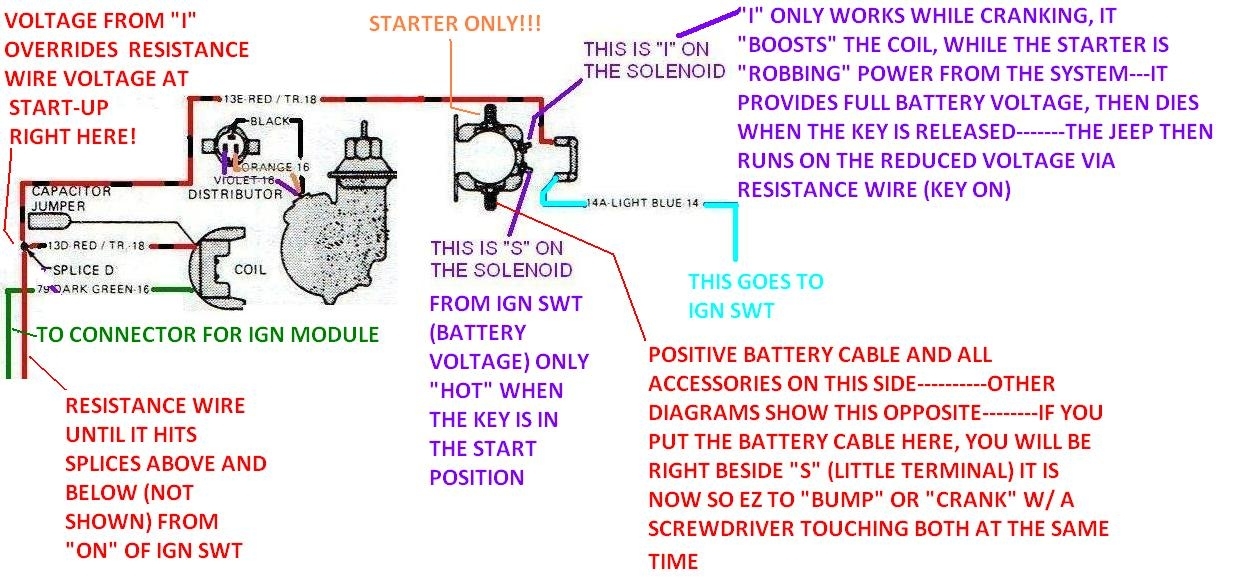
Pictures 1 and 2 are the way to test (these are the values for the original 1979 Jeep CJ Motorcraft system)
The Accel values are "1.2 ohms" and "89 k ohms"
I have a few more possibilities.
This is the one I lean towards the most.
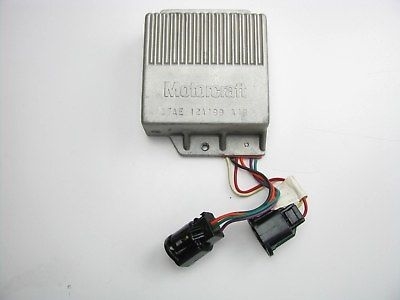
The ignition module.
Is it's body grounded well?
Not that easy?
Let's take it off,
The service manual prescribes grabbing the wires on either side of the connectors and giving them a firm pull. Digging at the connector locks will do no more than break them off, then you'll have to use wire ties to keep them together.
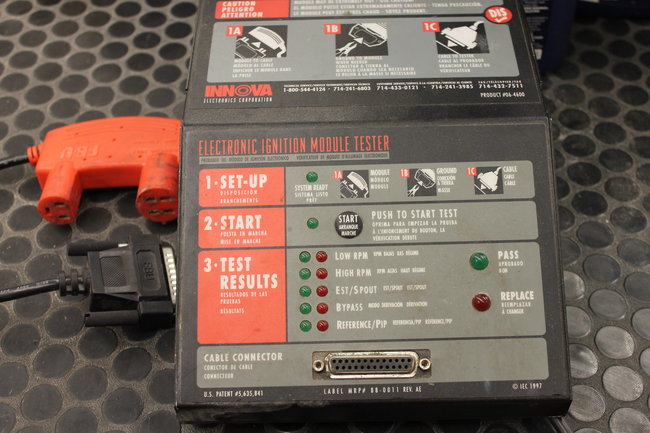
Take it to an auto parts store (my pics are in Advance Auto Parts)
Have it tested five or so times in a row, if it fails at all, replace it.
Yep,
I've seen several new ones be failures too.
If you get another one, test it while you are there, otherwise you will go insane wondering why the whole Jeep could be at fault, after tearing everything down.
Wow!, it was a bad "New" module the whole time.
Your module will have blue plastic around the wires as they exit the modules. Other colors are for other vehicles.
Send some news.
I will stay with you until it is running!
The Medic
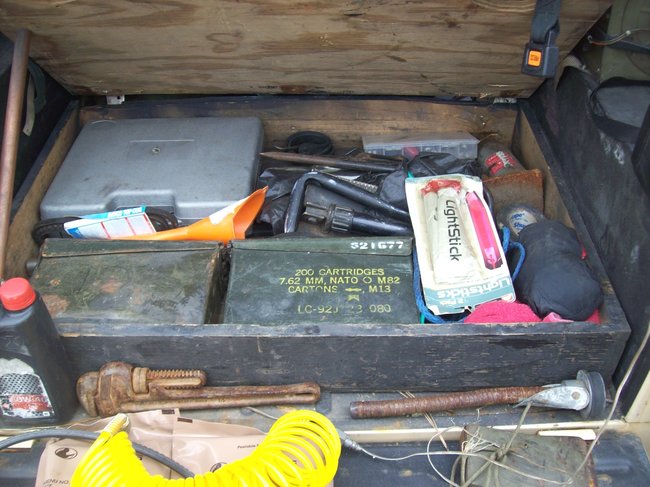
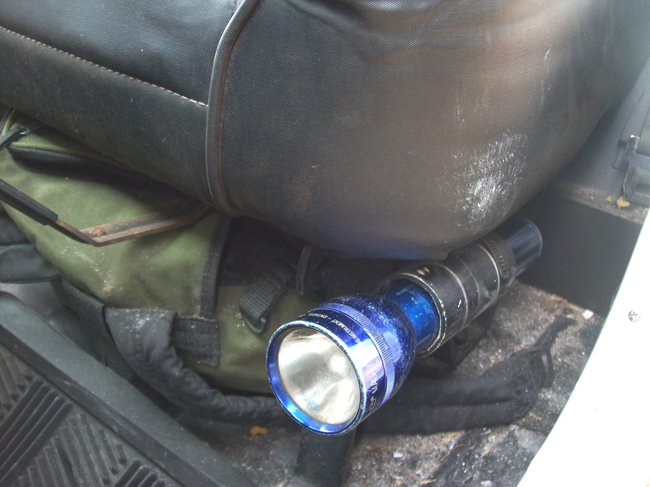
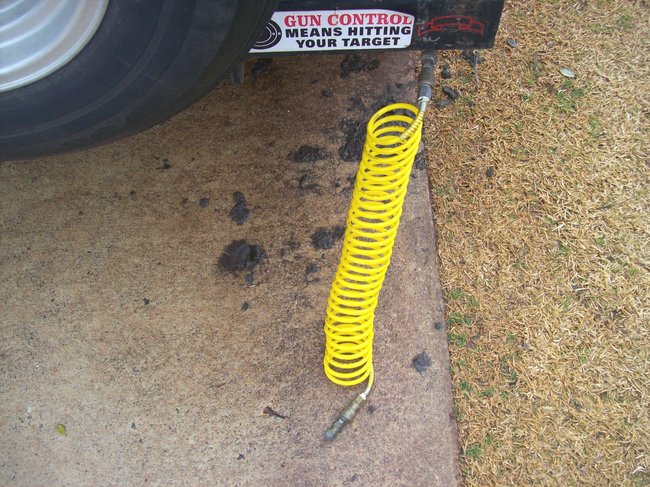
Images (Click to enlarge)
Mar 25, 2019 at 6:59 PM