See Figures 1 through 6
CAUTION
When draining the coolant, keep in mind that cats and dogs are attracted by the ethylene glycol antifreeze, and are quite likely to drink any that is left in an uncovered container or in puddles on the ground. This will prove fatal in sufficient quantity. Always drain the coolant into a sealable container. Coolant should be reused unless it is contaminated or several years old.
Drain the cooling system.
Remove both heater hoses.
Remove the lower right hush panel.
Remove the lower right instrument panel and the ESC module if necessary.
Remove the lower right instrument panel-to-cowl screw.
Remove the heater case screws.
The upper left screw may be reached with a long socket extension. Carefully lift the lower right corner of the instrument panel to align the extension.
Remove the case cover.
Remove the support plate and baffle screws.
Remove the heater core and baffle plate from the housing.
To install:
Position the heater core and baffle plate into the housing.
Install the support plate and baffle screws.
Install the case cover.
Install the heater case screws.
Install the lower right instrument panel-to-cowl screw.
Install the lower right instrument panel and the ESC module if necessary.
Install the lower right hush panel.
Install both heater hoses.
Fill the cooling system and check for leaks.
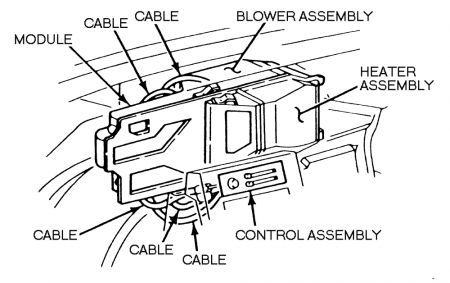
Fig. 1: Heater module assembly
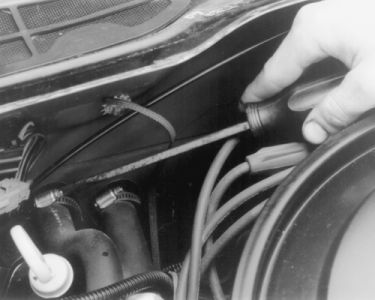
Fig. 2: Removing the heater core inlet hoses

Fig. 3: Removing the sound insulator attaching screws
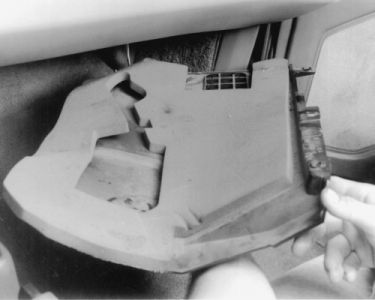
Fig. 4: Once the sound insulator has been removed, the heater module can be accessed
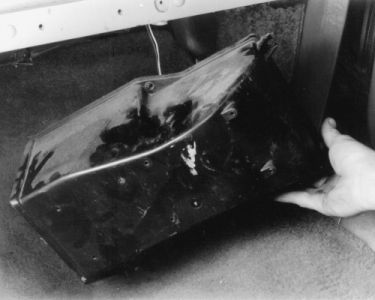
Fig. 5: Removing the heater module cover
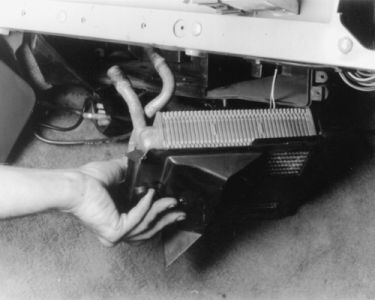
Fig. 6: Be careful not to allow any coolant to drain on the carpet when removing the heater core
Oct 29, 2008 at 7:01 PM