Here is what I found:
REMOVAL & INSTALLATION
Disconnect the battery negative cable.
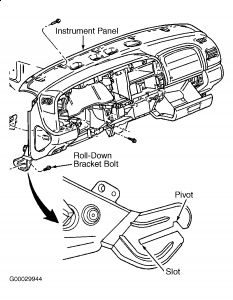
Remove the instrument panel from the vehicle.
If equipped with air conditioning, recover the refrigerant.
Disconnect the liquid line refrigerant line fitting from the evaporator inlet tube.
Ram: remove the accumulator.
Dakota, Durango: disconnect the accumulator inlet tube.
Drain the cooling system.
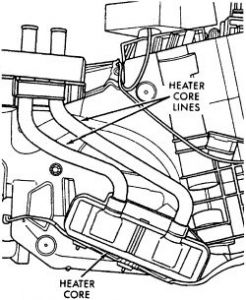
Disconnect the heater hoses from the heater core tubes.
Ram: remove the powertrain control module from the dash panel. Disconnecting wiring is not necessary.
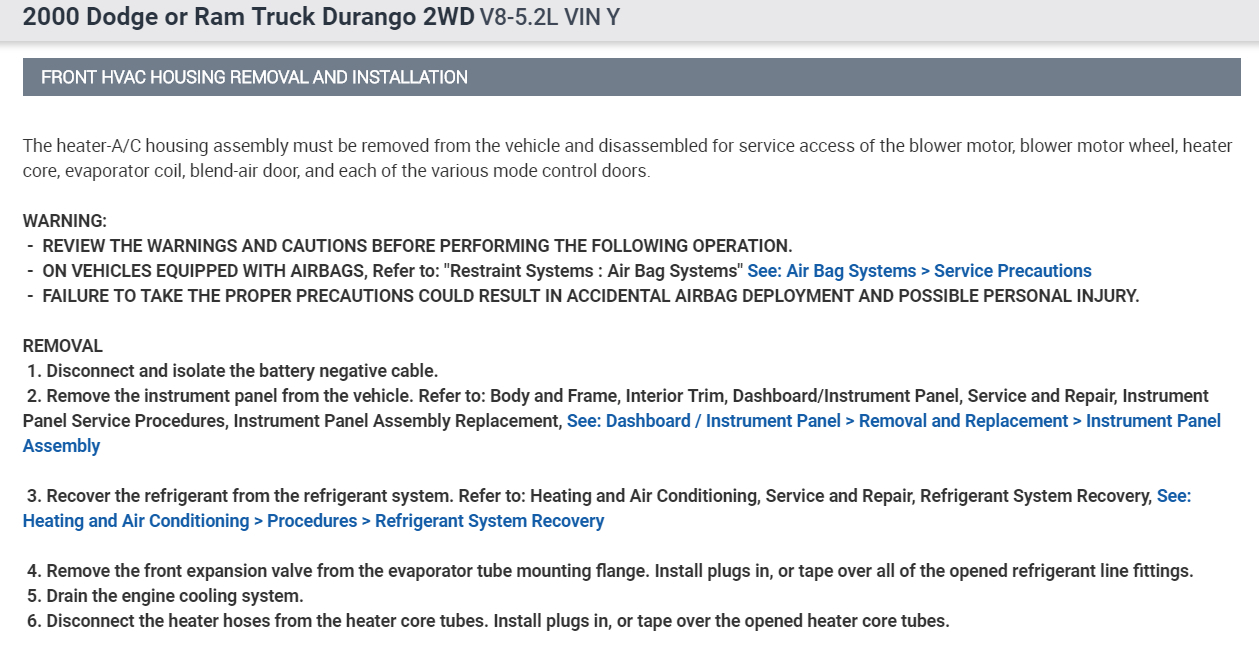
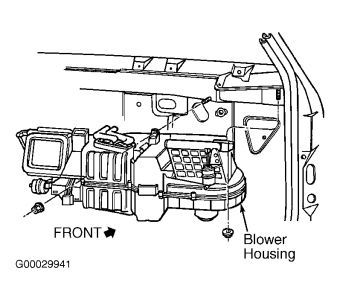
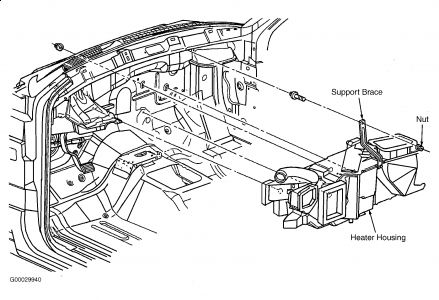
Remove the four nuts from the heater-A/C mounting studs on the engine compartment side of the dash panel.
Remove the nut(s) that secure(s) the heater-A/C housing mounting brace to the stud(s) on the passenger compartment side of the dash board.
Pull the housing rearward far enough for the mounting studs and evaporator condensate drain tube to clear the dash panel holes.
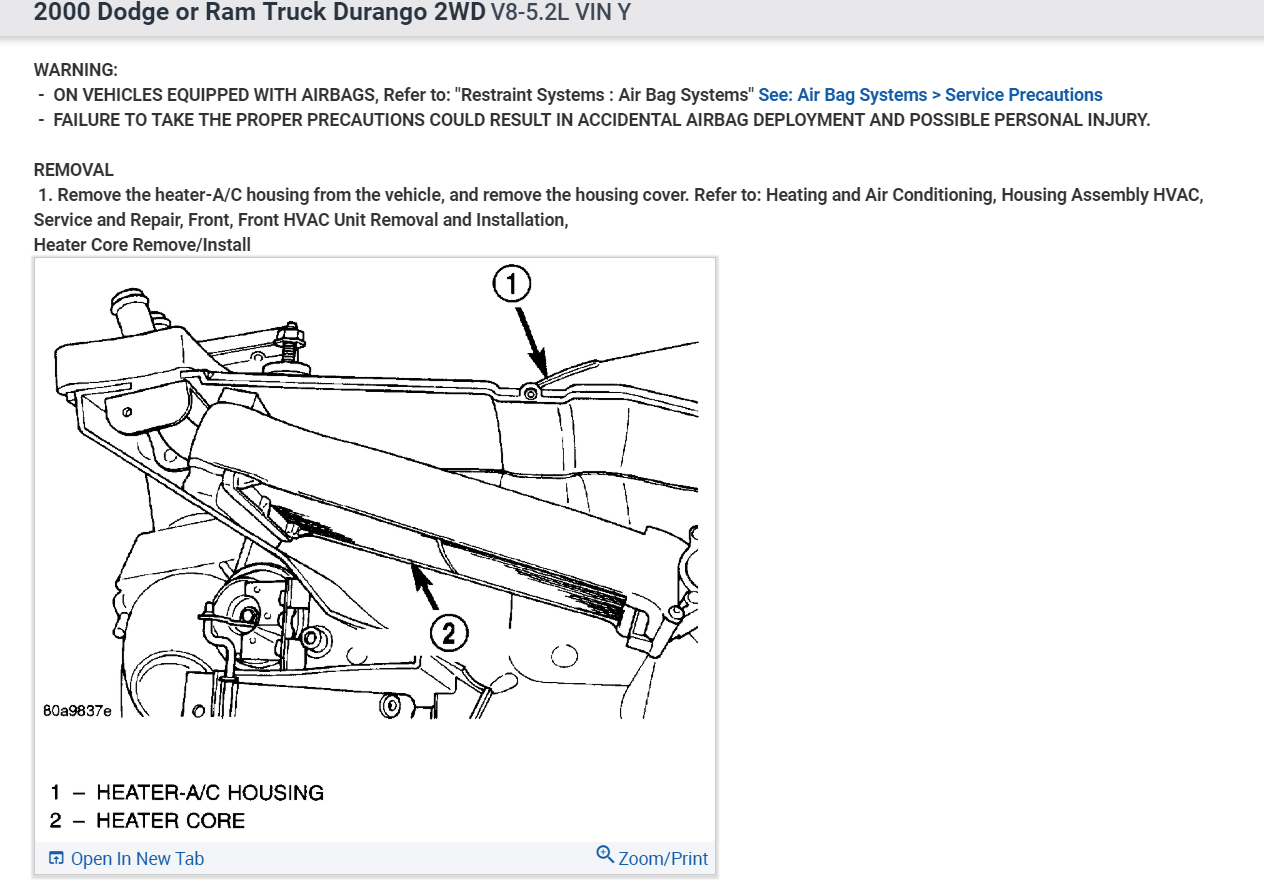
Remove the housing from the vehicle.
Lift the heater core out of the housing.
Installation is the reverse of removal.
Let me know if it helps.
Jan 7, 2019 at 6:23 PM
(Merged)