Step by step instructions on how to check an automotive pressure regulator, this article pertains to external regulator fuel injected vehicles.
Difficulty Scale: 4 of 10
Begin with the vehicle on flat ground, in park with the emergency brake on, engine "OFF". (No smoking or open flame.)
Step 1 - Locate the vacuum line which is attached to the fuel pressure regulator and remove it, this line should be free of fuel, if fuel is observed the regulator has failed. (Note: Not all vehicles are designed with an pressure regulator.)
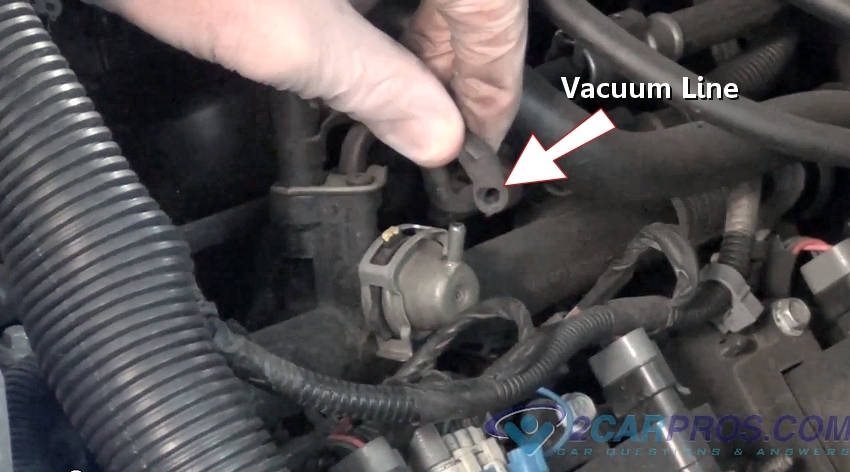
Inspecting Vacuum Feed Line
Step 2 - Once the inspection for the fuel pressure regulator is complete reinstall the vacuum line.
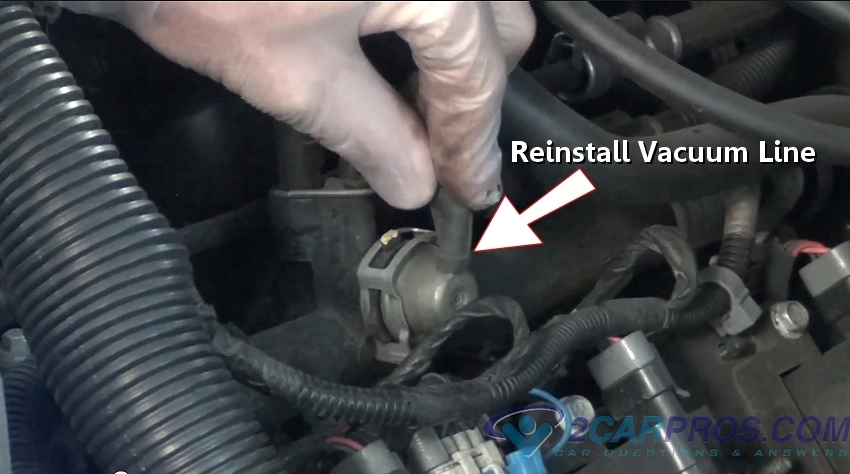
Reinstalling Fuel Line
Step 3 - Locate and remove the protective cap which will allow the fuel pressure gauge hose to be attached.
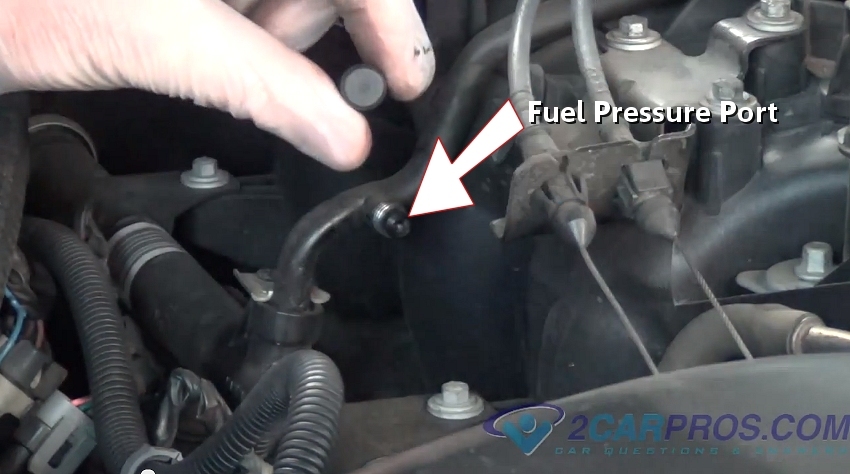
Fuel Pressure Test Port
Step 4 - Next, remove the fuel pressure test gauge from its packaging. The gauge shown is a professional gauge kit, but any attachable fuel pressure gauge will work.
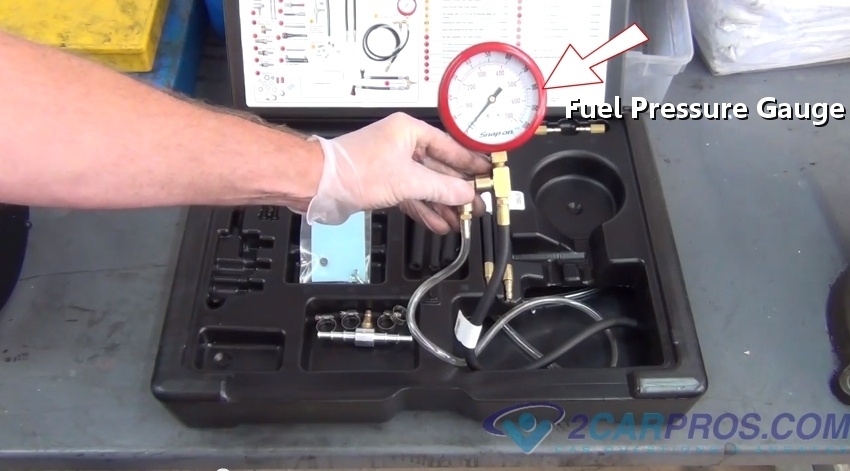
Fuel Pressure Gauge
Step 5 - After fitting the gauge with the appropriate adapter attach the gauge line to the fuel test port. If no test port is provided, a fuel filter adapter is needed, this adapter is connected too, or takes the place of the fuel filter.

Connect Fuel Pressure Gauge